|
|
Jackson’s Miniatures
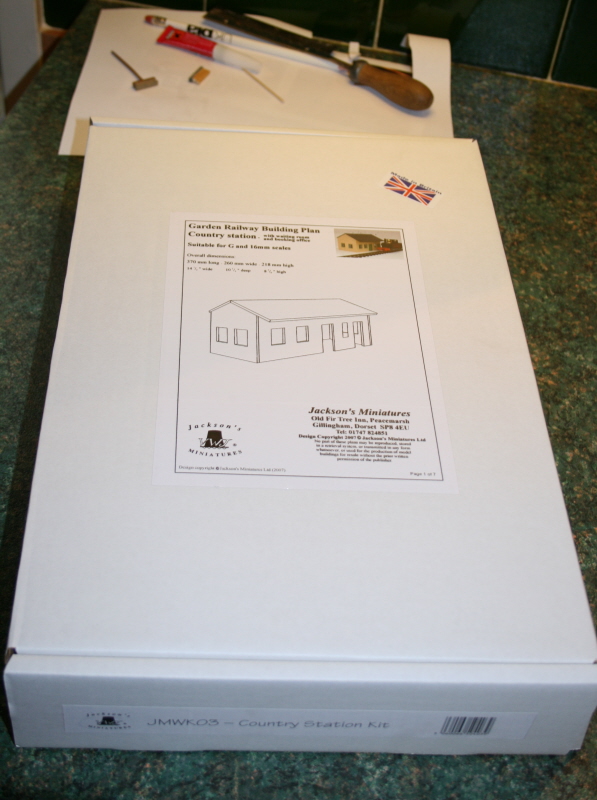
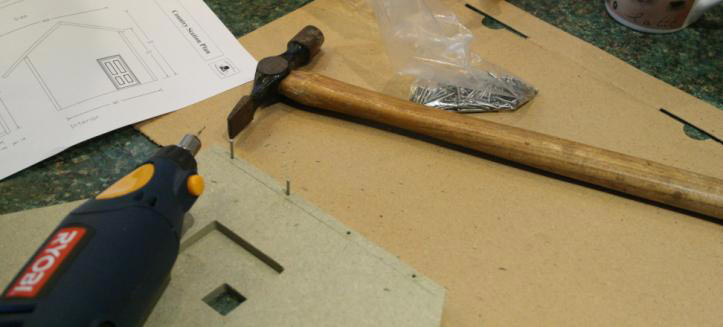
Ian Sharples I was asked to build and review a building supplied by Jackson’s Miniature’s Limited. This is a new line of buildings from an established supplier of Dolls House buildings. I chose to build and review the Country Station. The buildings can be either purchased as a kit (including all walls, roof, windows, doors etc) or as a plan kit which includes the windows and doors; you cut the walls, roof etc from whichever material you choose. Drawings for the walls / roof etc are included in the comprehensive instructions (A4 size). The kit arrived in very robust packaging.
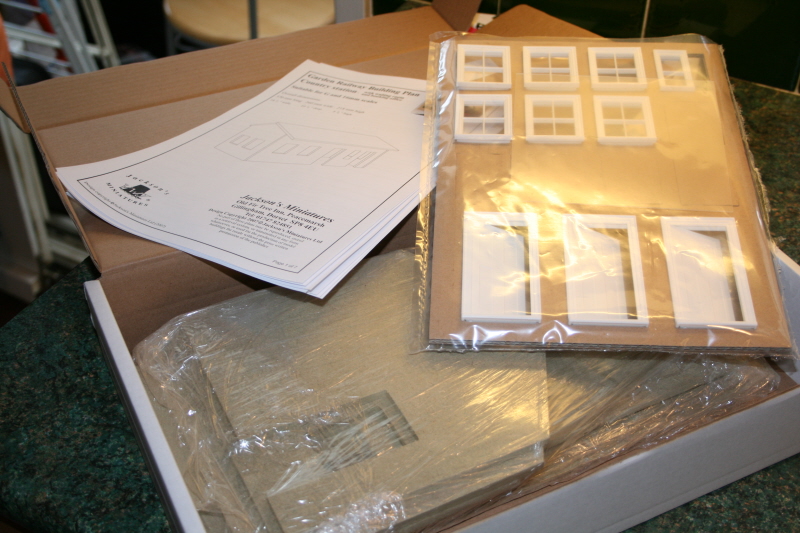
Ignore the tools shown in the above photo. They’re for a different project... To be found in the box are:- 1. Instructions. 2. Shrink wrapped walls and roof (these are accurately cut from damp proof MDF using a CNC router (Note – this is the MDF manufacturers description – the MDF can be used in moist environments, but is not to be used immersed in water). 3. Windows and doors – which are of very good quality and made from styrene. 4. Glazing plastic for the windows. It’s well worth while reading and becoming acquainted with the instructions.
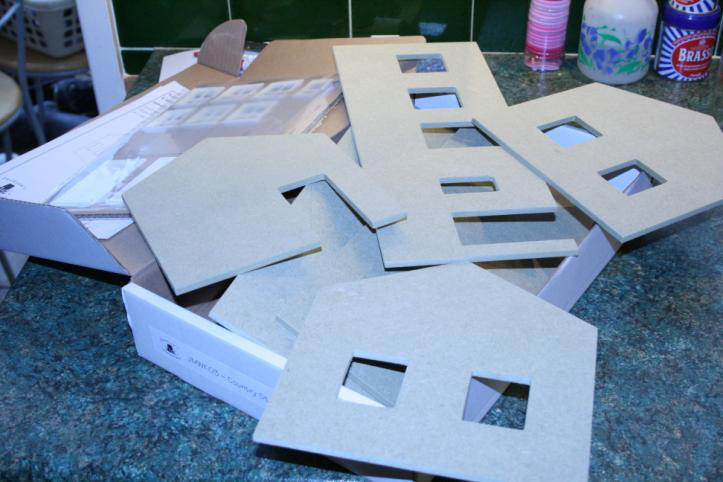
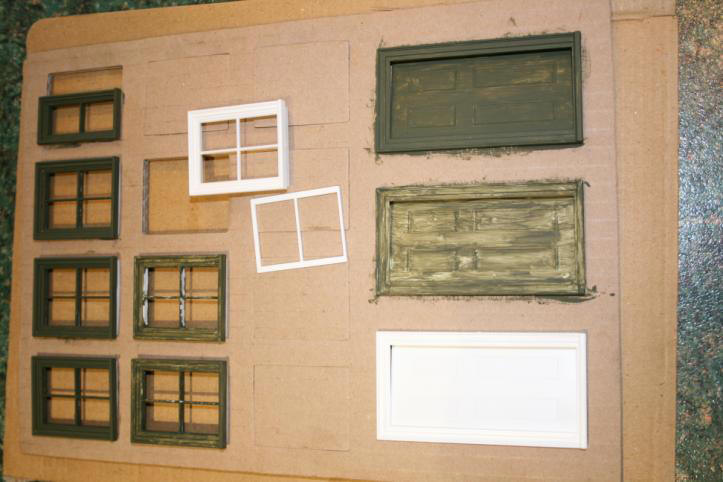
Included in the instructions is a comprehensive list of the tools required to make and assemble the building. Not all the tools are required if you are building from a full kit. As you can see from the picture below the walls and roof are supplied with all the apertures for the windows and doors pre-cut. The styrene windows and doors are supplied on a very handy cardboard carrier. (Useful when painting).
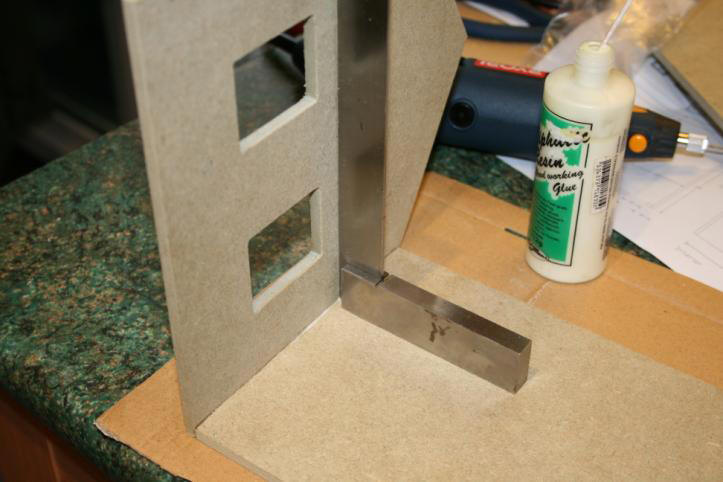
I started off by marking the thickness of the front and back walls on the two gable end walls. Make sure you get the right parts, as the interior wall is not as wide as the two end walls. It is recommended that the walls are glued and pinned together. In order to do this I drilled 1.5mm Ø holes in the two gable ends, this is to stop the MDF from splitting. Hopefully the picture below explains it better...... I used ½" panel pins and Aliphatic Resin to glue and pin the walls. – Aliphatic Resin is something I’ve always used for outdoor buildings since building remote control boats. Well, if it works immersed in water it should be fine outdoors. (I have buildings that have been outside for 5 or 6 years and non have the glued joints have failed as yet). Once the glue had been applied to the joint and the pins tapped in to locate, I then checked to make sure the gable ends are square to the walls. Wipe off any excess glue with a damp cloth.
Mark the location of the interior wall on either the front or back wall and drill for panel pins, once this is in place, and square, turn the building over and repeat on the opposite wall. Don’t forget to sink the nail heads below the level of the MDF.
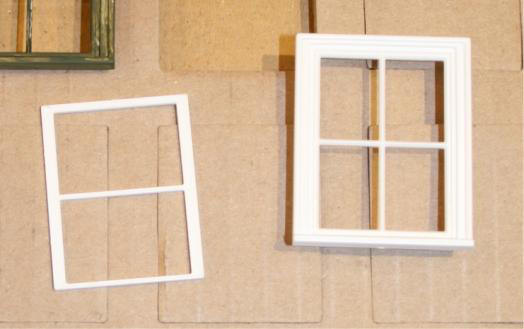
Whilst the glue was drying I set about painting up the windows and doors. As I said earlier these are very crisp mouldings and I discovered that the windows are manufactured in two parts. This means that you could have painted windows on the outside of the building and white windows on the inside. The glazing for the windows can be affixed between the two mouldings. I painted the windows and doors with acrylic paints from the "Games Workshop Ltd" range. The first one or two coats look a bit "wishy washy", but the third coat comes up a treat.
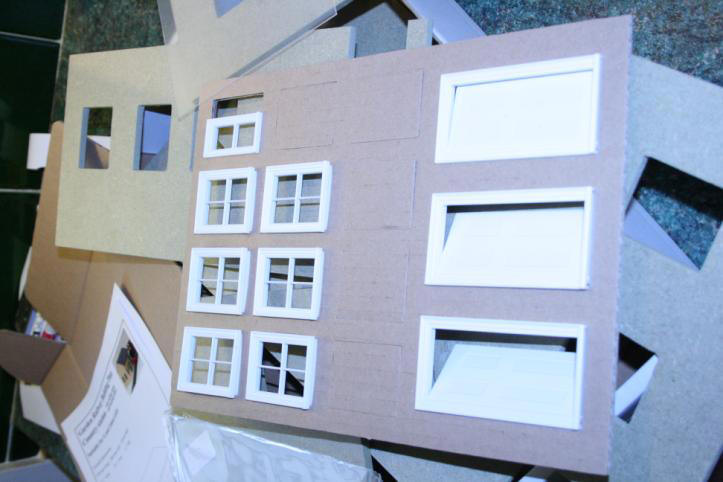
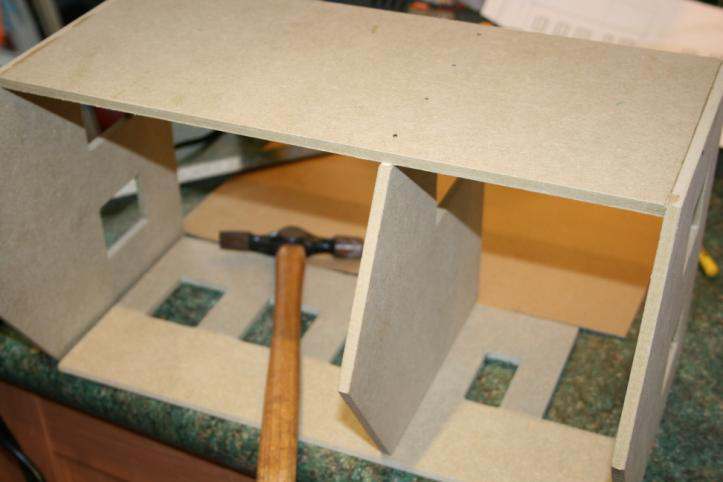
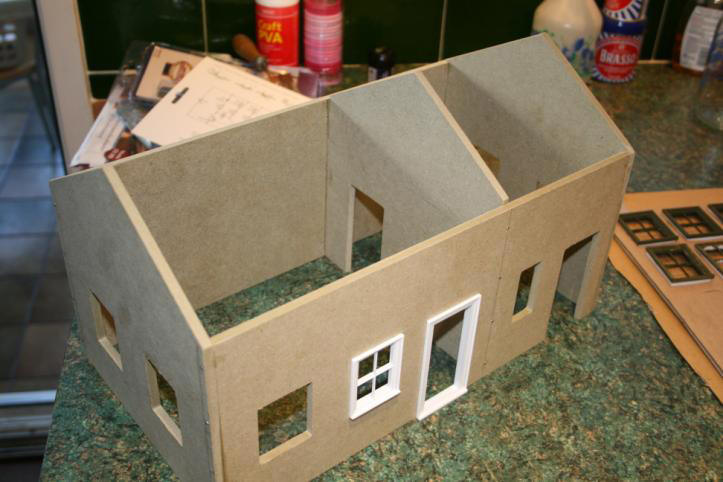
Here’s a picture of the building thus far with the walls in place along with an unpainted window and door.
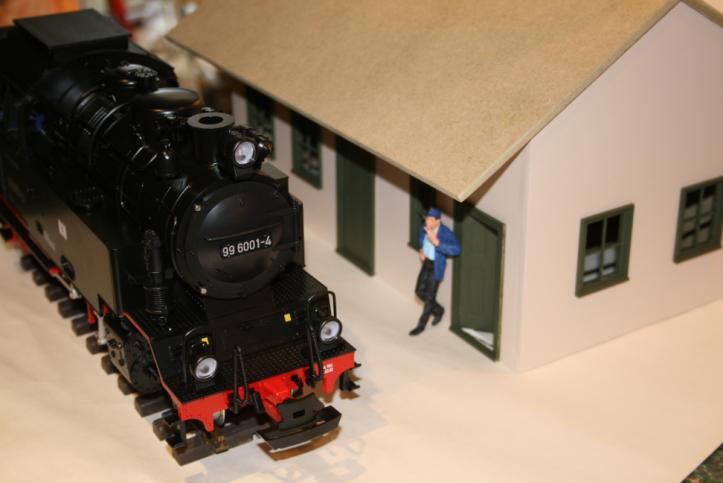
For the purpose of this review I have chosen to paint the walls of the station with some spare emulsion I had and also not to permanently fix the roof to the structure. The reason for this is that I want to add a LOT more detail to the building to show what else can be done with the basic structure that the kit supplies. i.e. brickwork, lintels over the windows, slates on the roof, chimneys etc. This article is entitled "A Remodelled Country Station" The building as supplied in my opinion does need to be placed on your layout on a raised platform. As you can see from the picture below, an LGB 2-6-2 loco is somewhat higher than the roof edge – but on a raised platform this will look fine.
Pro’s This kit is a very simple (and relatively cheap) way of getting buildings out on to your layout. It has scope for plenty of change and detailing. The buildings are generic and can be made to resemble whatever period or country you are modelling in, The styrene windows and doors are of a very high quality and can be purchased as part of a "plan pack" if you wish to make your own structures. Con’s A little too simple for some people who want "realism out of a box". i.e. Buildings supplied by Piko and Pola. The instructions suggest that if the building is going to be placed outside, that it is coated (especially edges in contact with the ground) with a dilute PVA mix. I’m not sure if this will be enough to stop water ingress and the MDF from splitting – only time will tell. Tools needed for the kit build, but not supplied:- Tack hammer Square Drill Nail punch (or large nail to punch with) Ruler ½" tacks / panel pins Glue Paint for windows and doors (Acrylics or enamels are best suited) Paint for walls / roof (manufacturer recommends Dulux Weather shield or equivalent) All in all, the buildings available from Jackson’s Miniature’s are, in my opinion, very good value for money method of building quick and simple structures for your layout. They can be modified / dressed up to suit your layout and are of a "close enough" scale to fit into a 1:22.5 scale layout or a 16mm layout. Jackson’s Miniature’s can be contacted at :- www.jacksonsminiatures.com Jackson's Miniatures Limited Old Fir Tree Inn Peacemarsh Gillingham, Dorset SP8 4EU Great Britain Fax: 01747 821 405 (International: +44 1747 821 405) Email: info@jacksonsminiatures.comIan Sharples. Also watch out for my new article all about remodelling this kit, coming soon. |